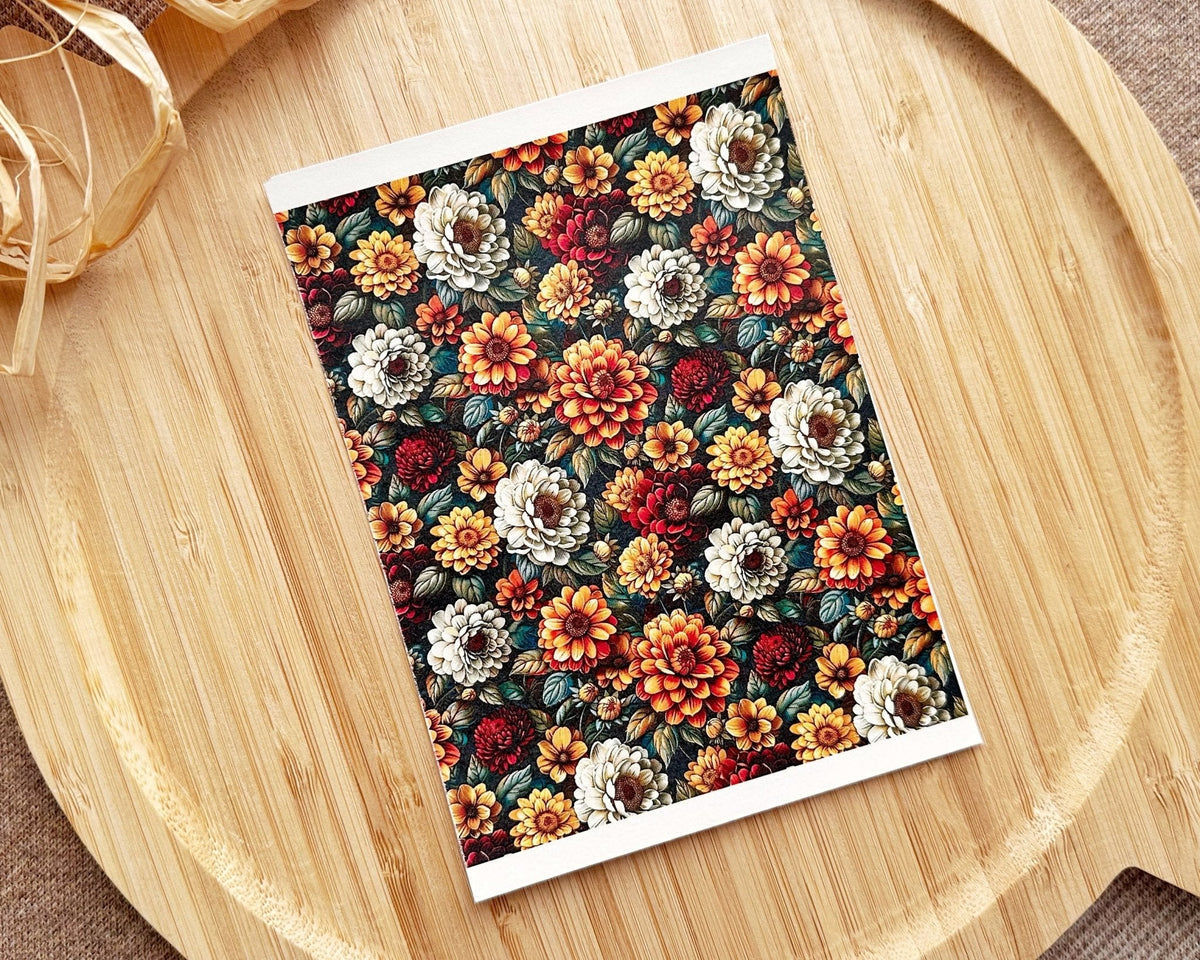
Polymer Clay Water-Soluble Transfer Sheets: A Step-by-Step Guide

Why Use Water-Soluble Transfer Sheets?
- Easy to use and beginner-friendly
- Allow for highly detailed and intricate designs
- Work on flat and curved clay surfaces
- Provide a professional finish to your polymer clay creations
These sheets are perfect for jewelry makers, miniaturists, and home décor crafters looking to add an extra layer of charm to their pieces.
Materials You’ll Need:
- Polymer clay (any brand or color of your choice)
- Water-soluble transfer sheet (purchased or custom-printed)
- Spray bottle or small bowl of water
- Soft brush or sponge
- Rolling pin or acrylic roller
- Craft knife or clay cutter
- Oven (for baking the clay)
- Glaze or sealant (optional for protection and shine)
How to Apply Water-Soluble Transfer Sheets to Polymer Clay
Follow these simple steps to achieve beautiful results with your transfer sheets:
Step 1: Condition Your Clay
- Start by conditioning your polymer clay. Knead it thoroughly until it’s soft and pliable.
- Roll out the clay to your desired thickness using a rolling pin or acrylic roller. A flat and smooth surface will give you the best results for the transfer.
Step 2: Prepare the Transfer Sheet
- Cut the water-soluble transfer sheet to the size of your clay piece. Be mindful of the design placement.
- Place the transfer sheet face down (design side onto the clay) on the clay surface.
Step 3: Activate with Water
- Lightly spray the back of the transfer sheet with water, or use a damp sponge or brush to moisten it gently.
- Allow the water to soak into the sheet for 30-60 seconds. You’ll notice the paper becoming softer as it dissolves.
Step 4: Remove the Transfer Sheet
- Gently rub the back of the transfer sheet with your fingers or a sponge to peel it away from the clay surface. Work carefully to avoid smudging the design.
- Once the paper dissolves completely, the image will remain on the clay.
Step 5: Smooth and Bake
- Smooth out any air bubbles or imperfections with a light touch.
- Bake the clay according to the manufacturer’s instructions. Baking times and temperatures can vary depending on the clay brand, so always check the package.
Step 6: Finish Your Piece
-
After the clay has cooled, you can apply a thin layer of glaze or sealant for added protection and shine. This step is optional but recommended for jewelry and frequently handled items.
Tips for Best Results:
- Test First: If you’re using a transfer sheet for the first time, test it on a small piece of clay to familiarize yourself with the process.
- Avoid Over-Wetting: Too much water can blur or wash away the image. Use just enough to activate the transfer.
- Work on Light-Colored Clay: Transfer images show up best on white or light-colored clay backgrounds.
-
Seal for Longevity: A sealant will protect the transferred image from wear and tear over time.
Creative Applications
Water-soluble transfer sheets can elevate a wide variety of polymer clay projects. Here are a few creative ideas to try:
- Jewelry: Create unique earrings, pendants, and brooches with beautiful patterns.
- Keychains and Charms: Add intricate designs to small, functional items.
- Home Decor: Use transfer sheets to enhance coasters, ornaments, or miniature figurines.
- Themed Creations: Match your designs to seasons, holidays, or specific color palettes.
Final Thoughts
Water-soluble transfer sheets are an incredible tool for any polymer clay artist looking to create professional-quality designs with ease. Whether you’re a beginner or an experienced crafter, these sheets can unlock new creative possibilities for your work. With a bit of practice and imagination, you’ll be adding stunning details to your polymer clay projects in no time!
Ready to give it a try? Let us know what you’ve created using transfer sheets in the comments below!
0 comments